

Highlights

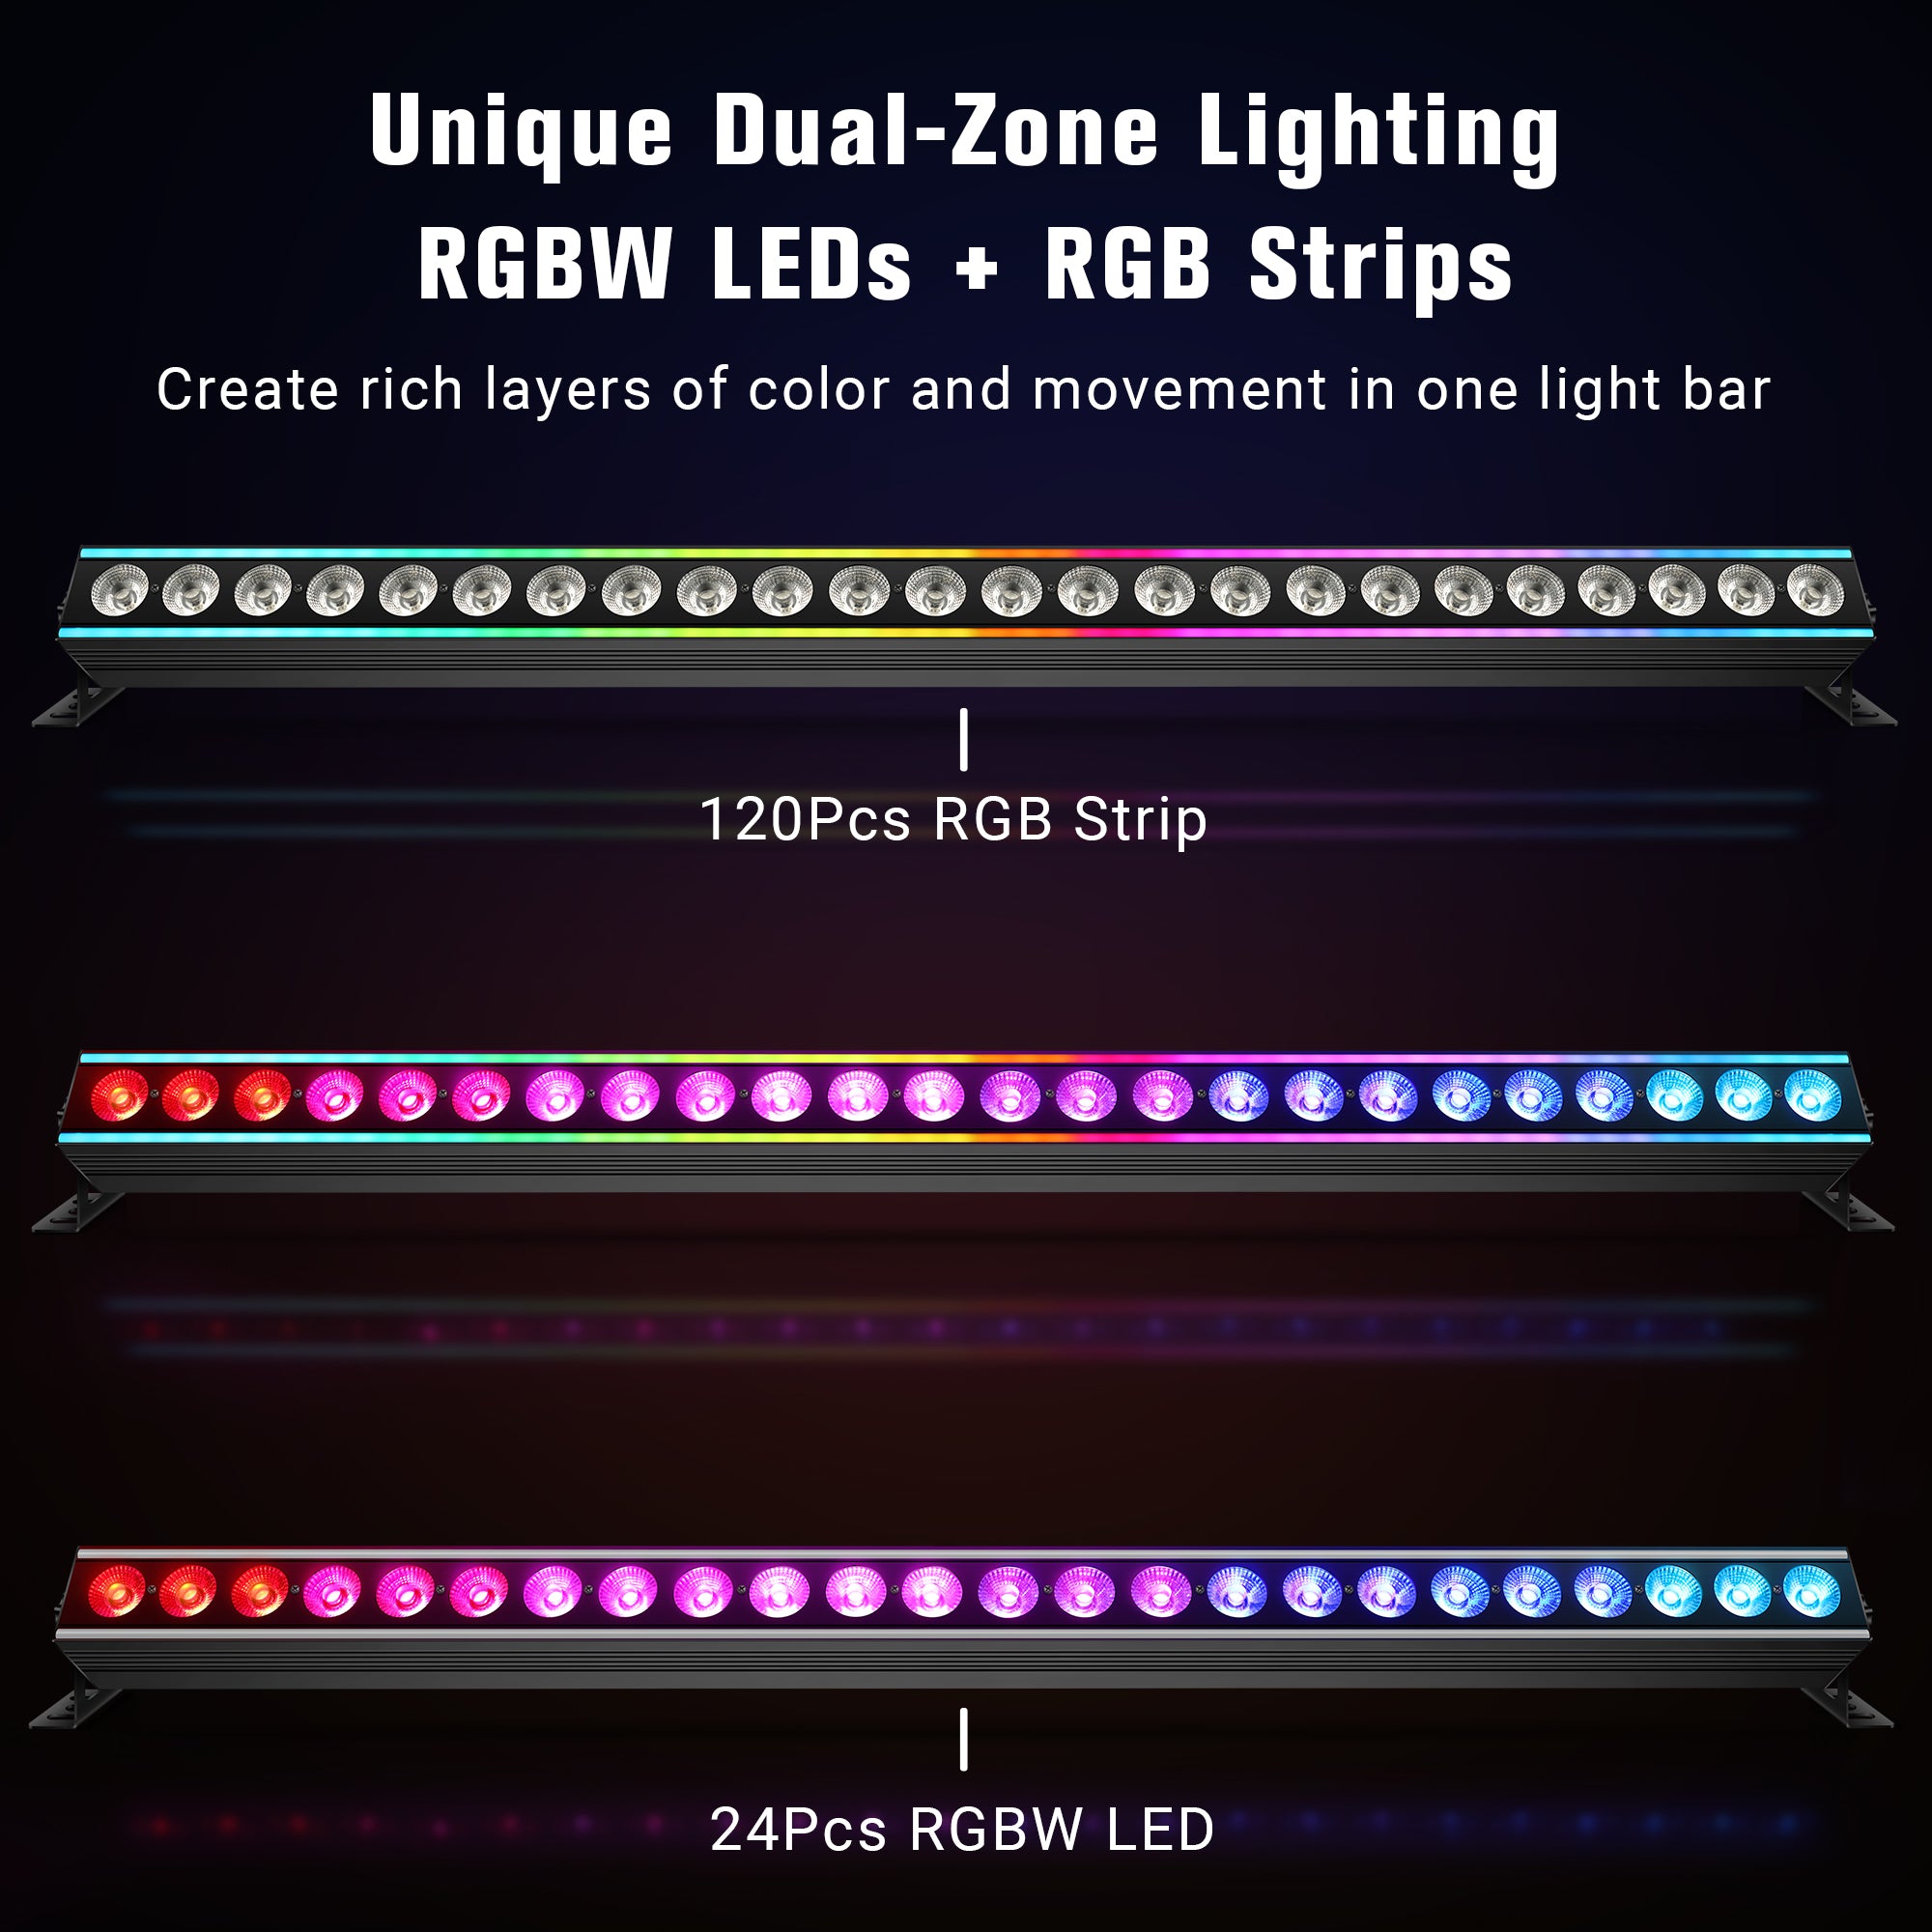
Dual Light Engine

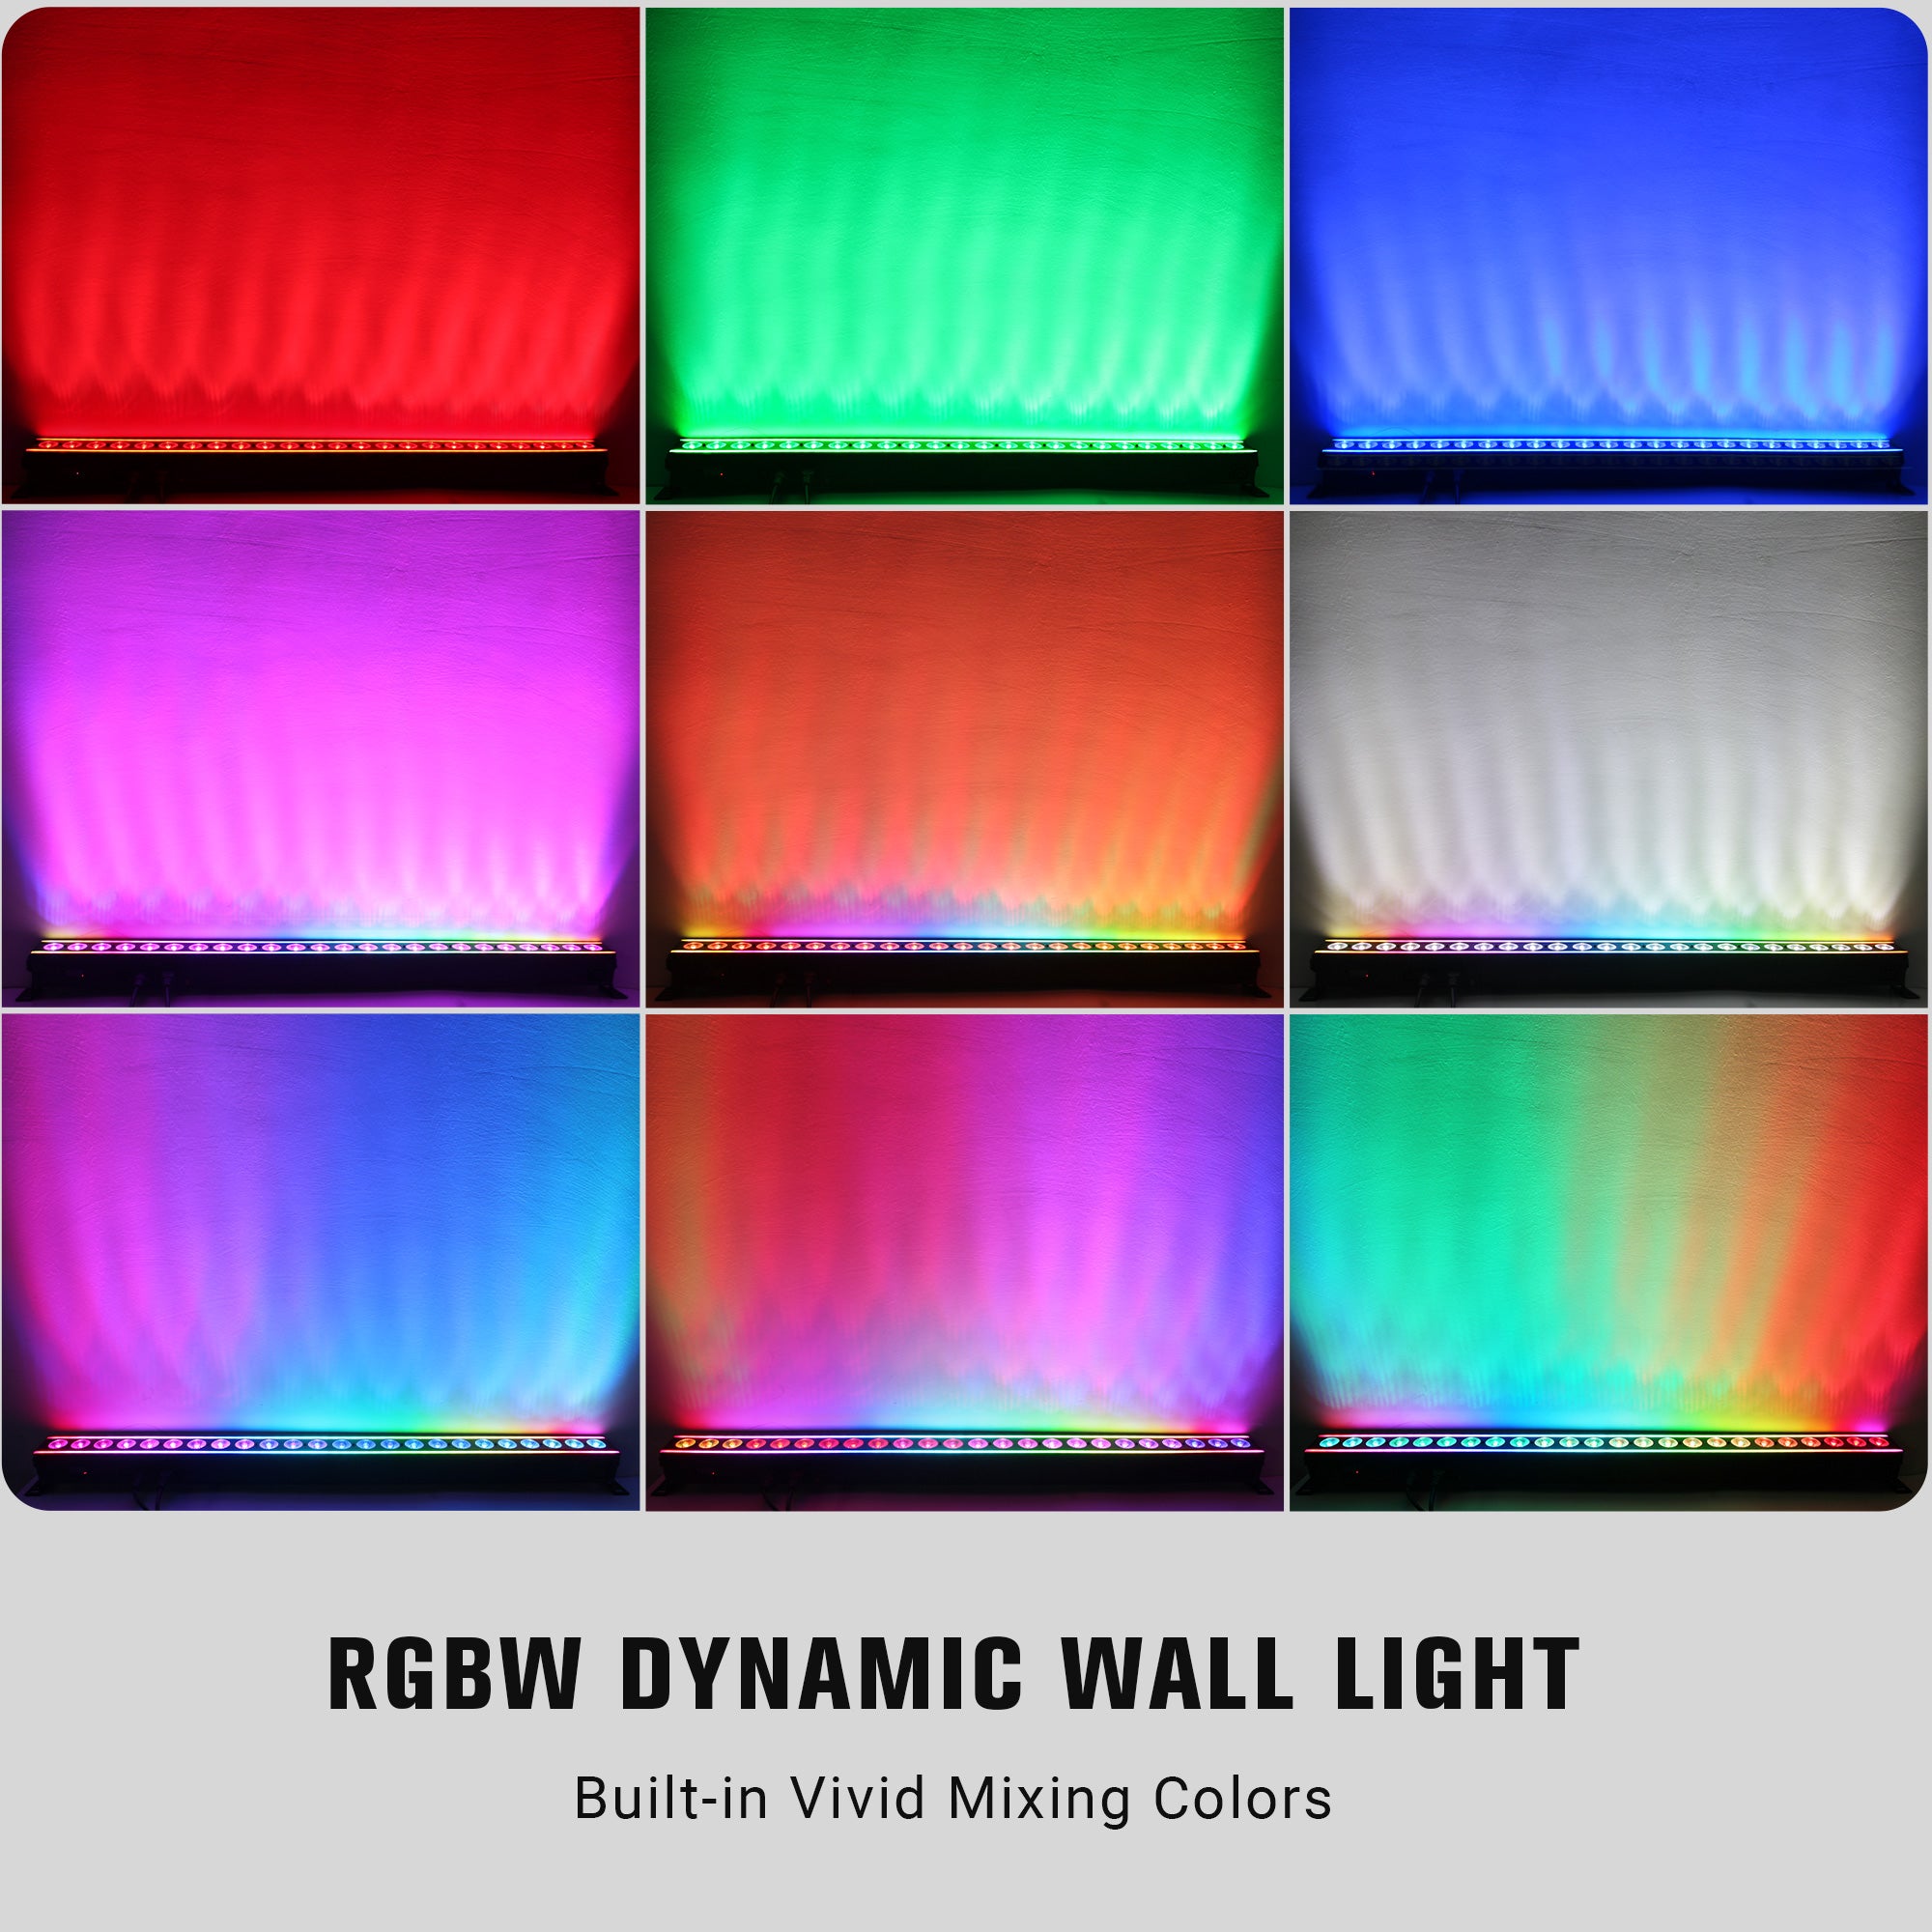
Rich Static Colors

6 Operating Modes

Sound Active Mode

Weight

Dimensions
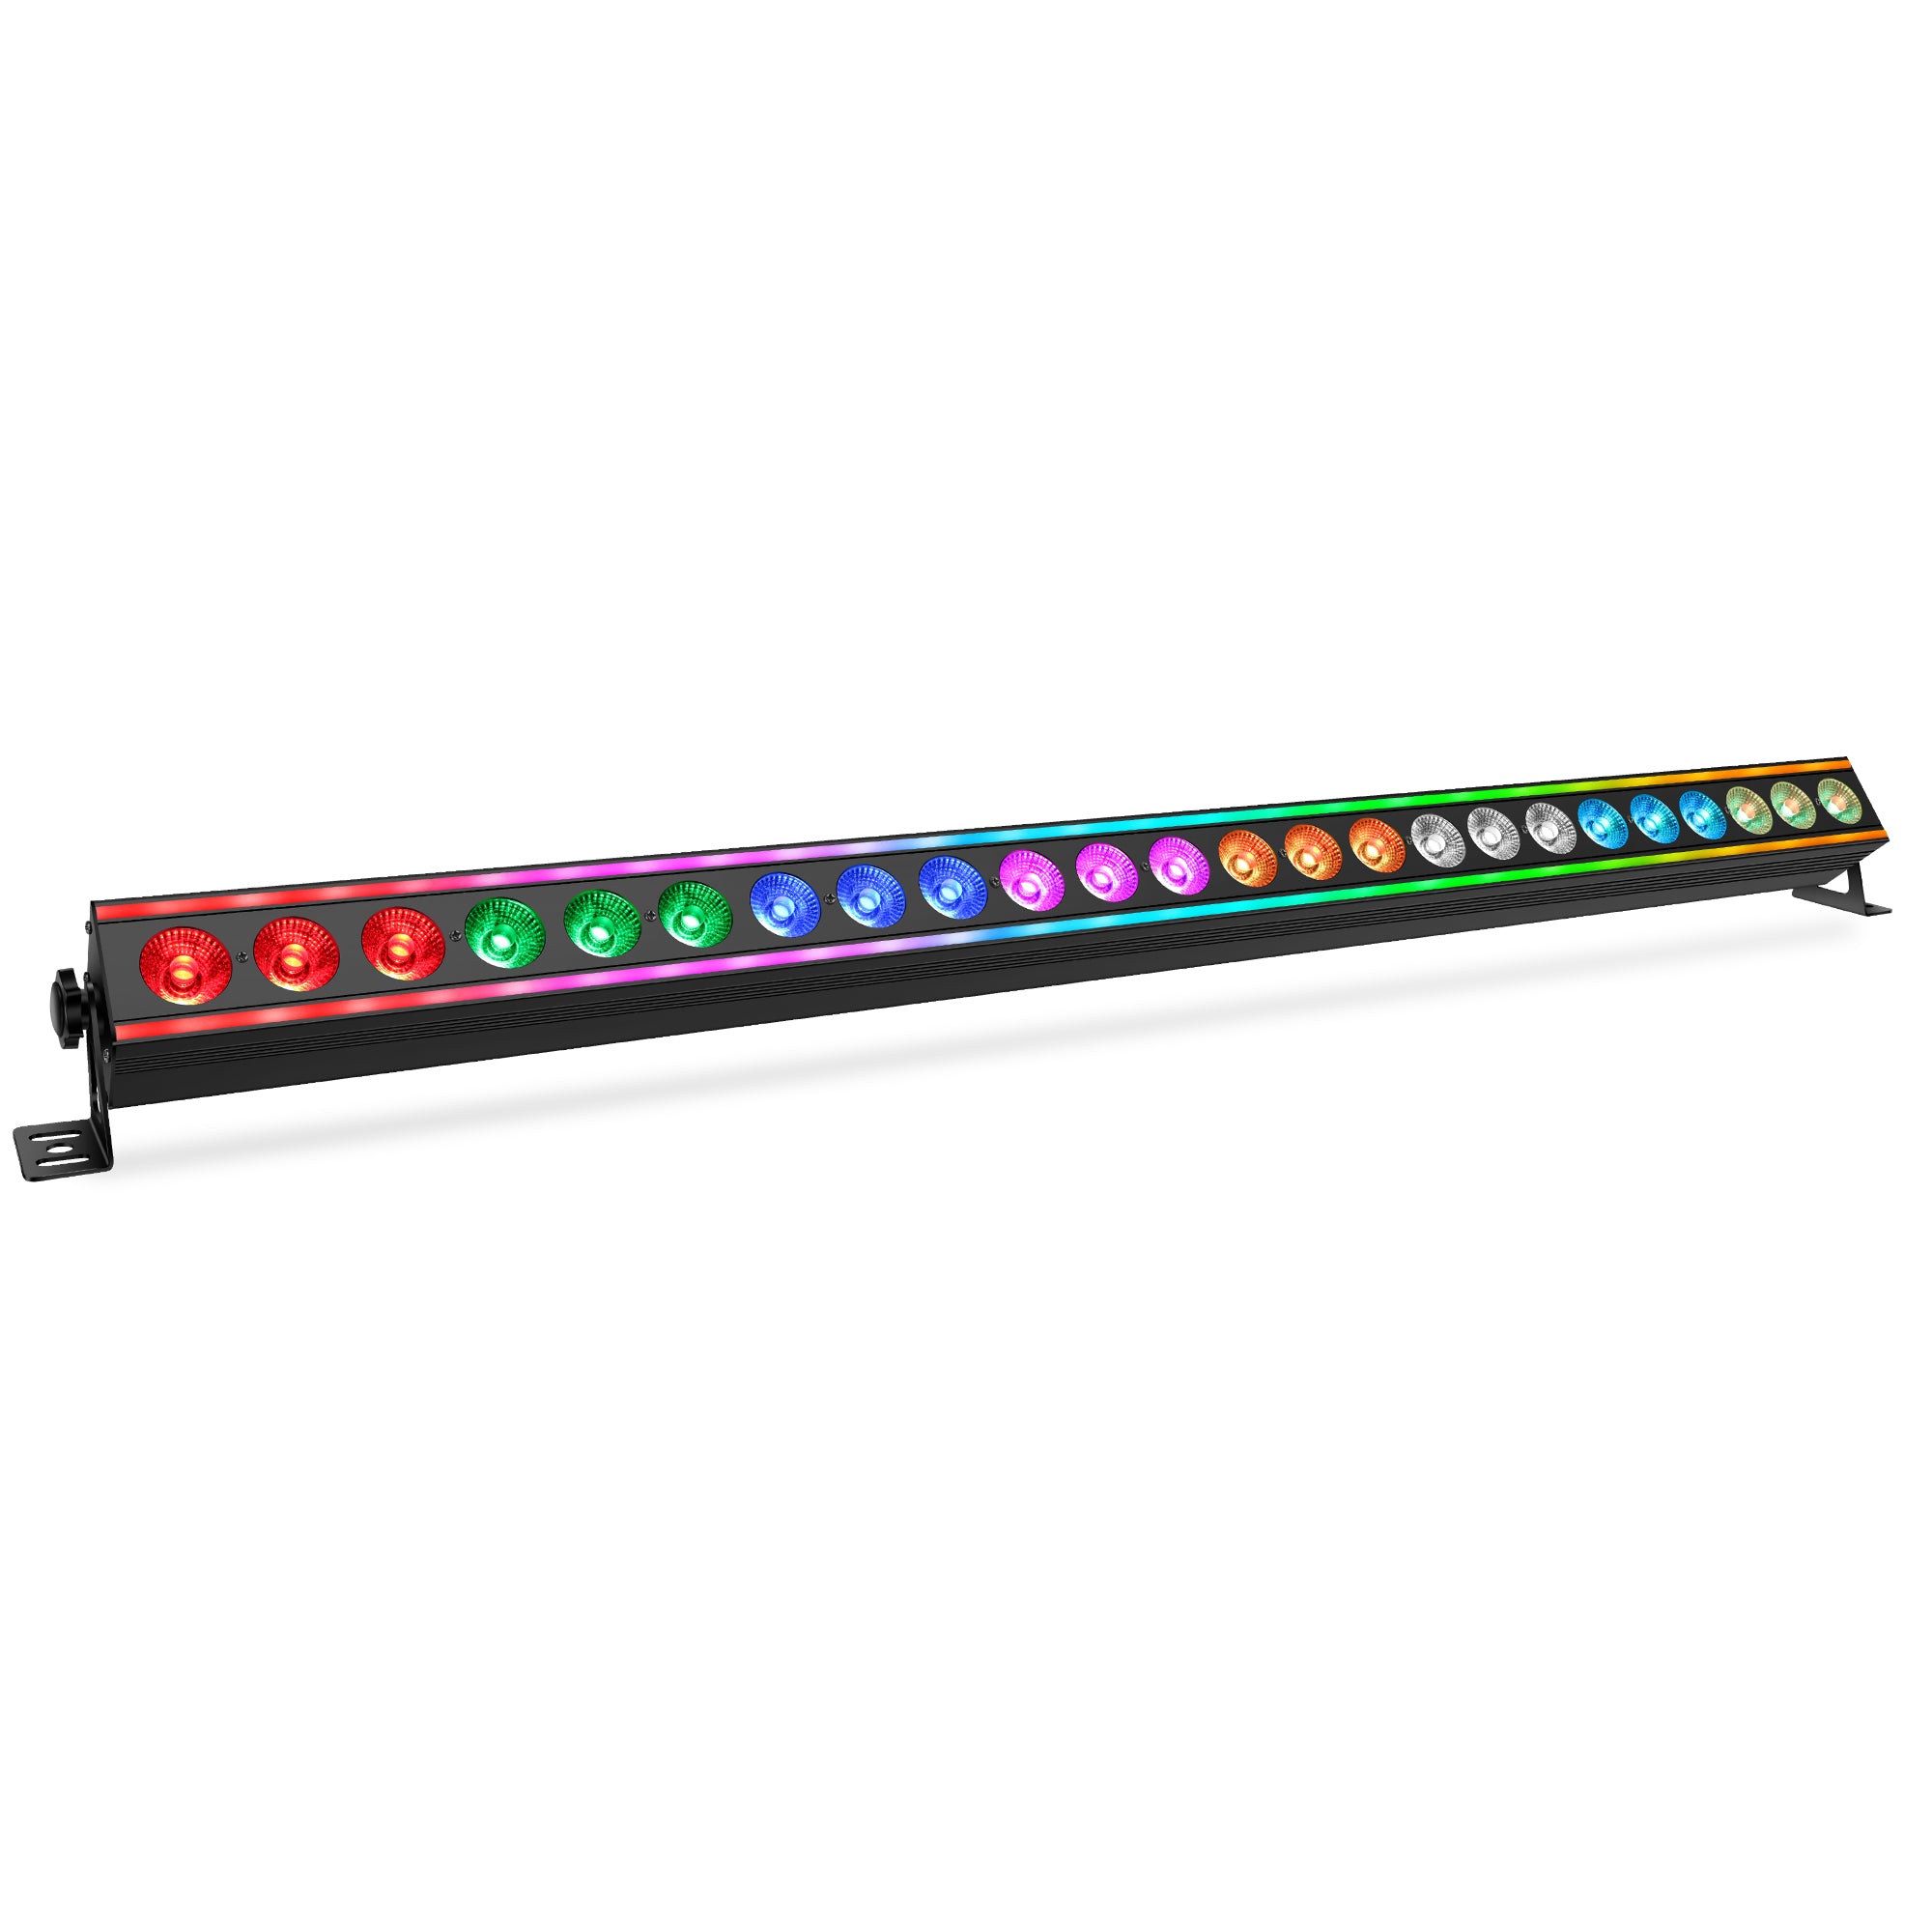
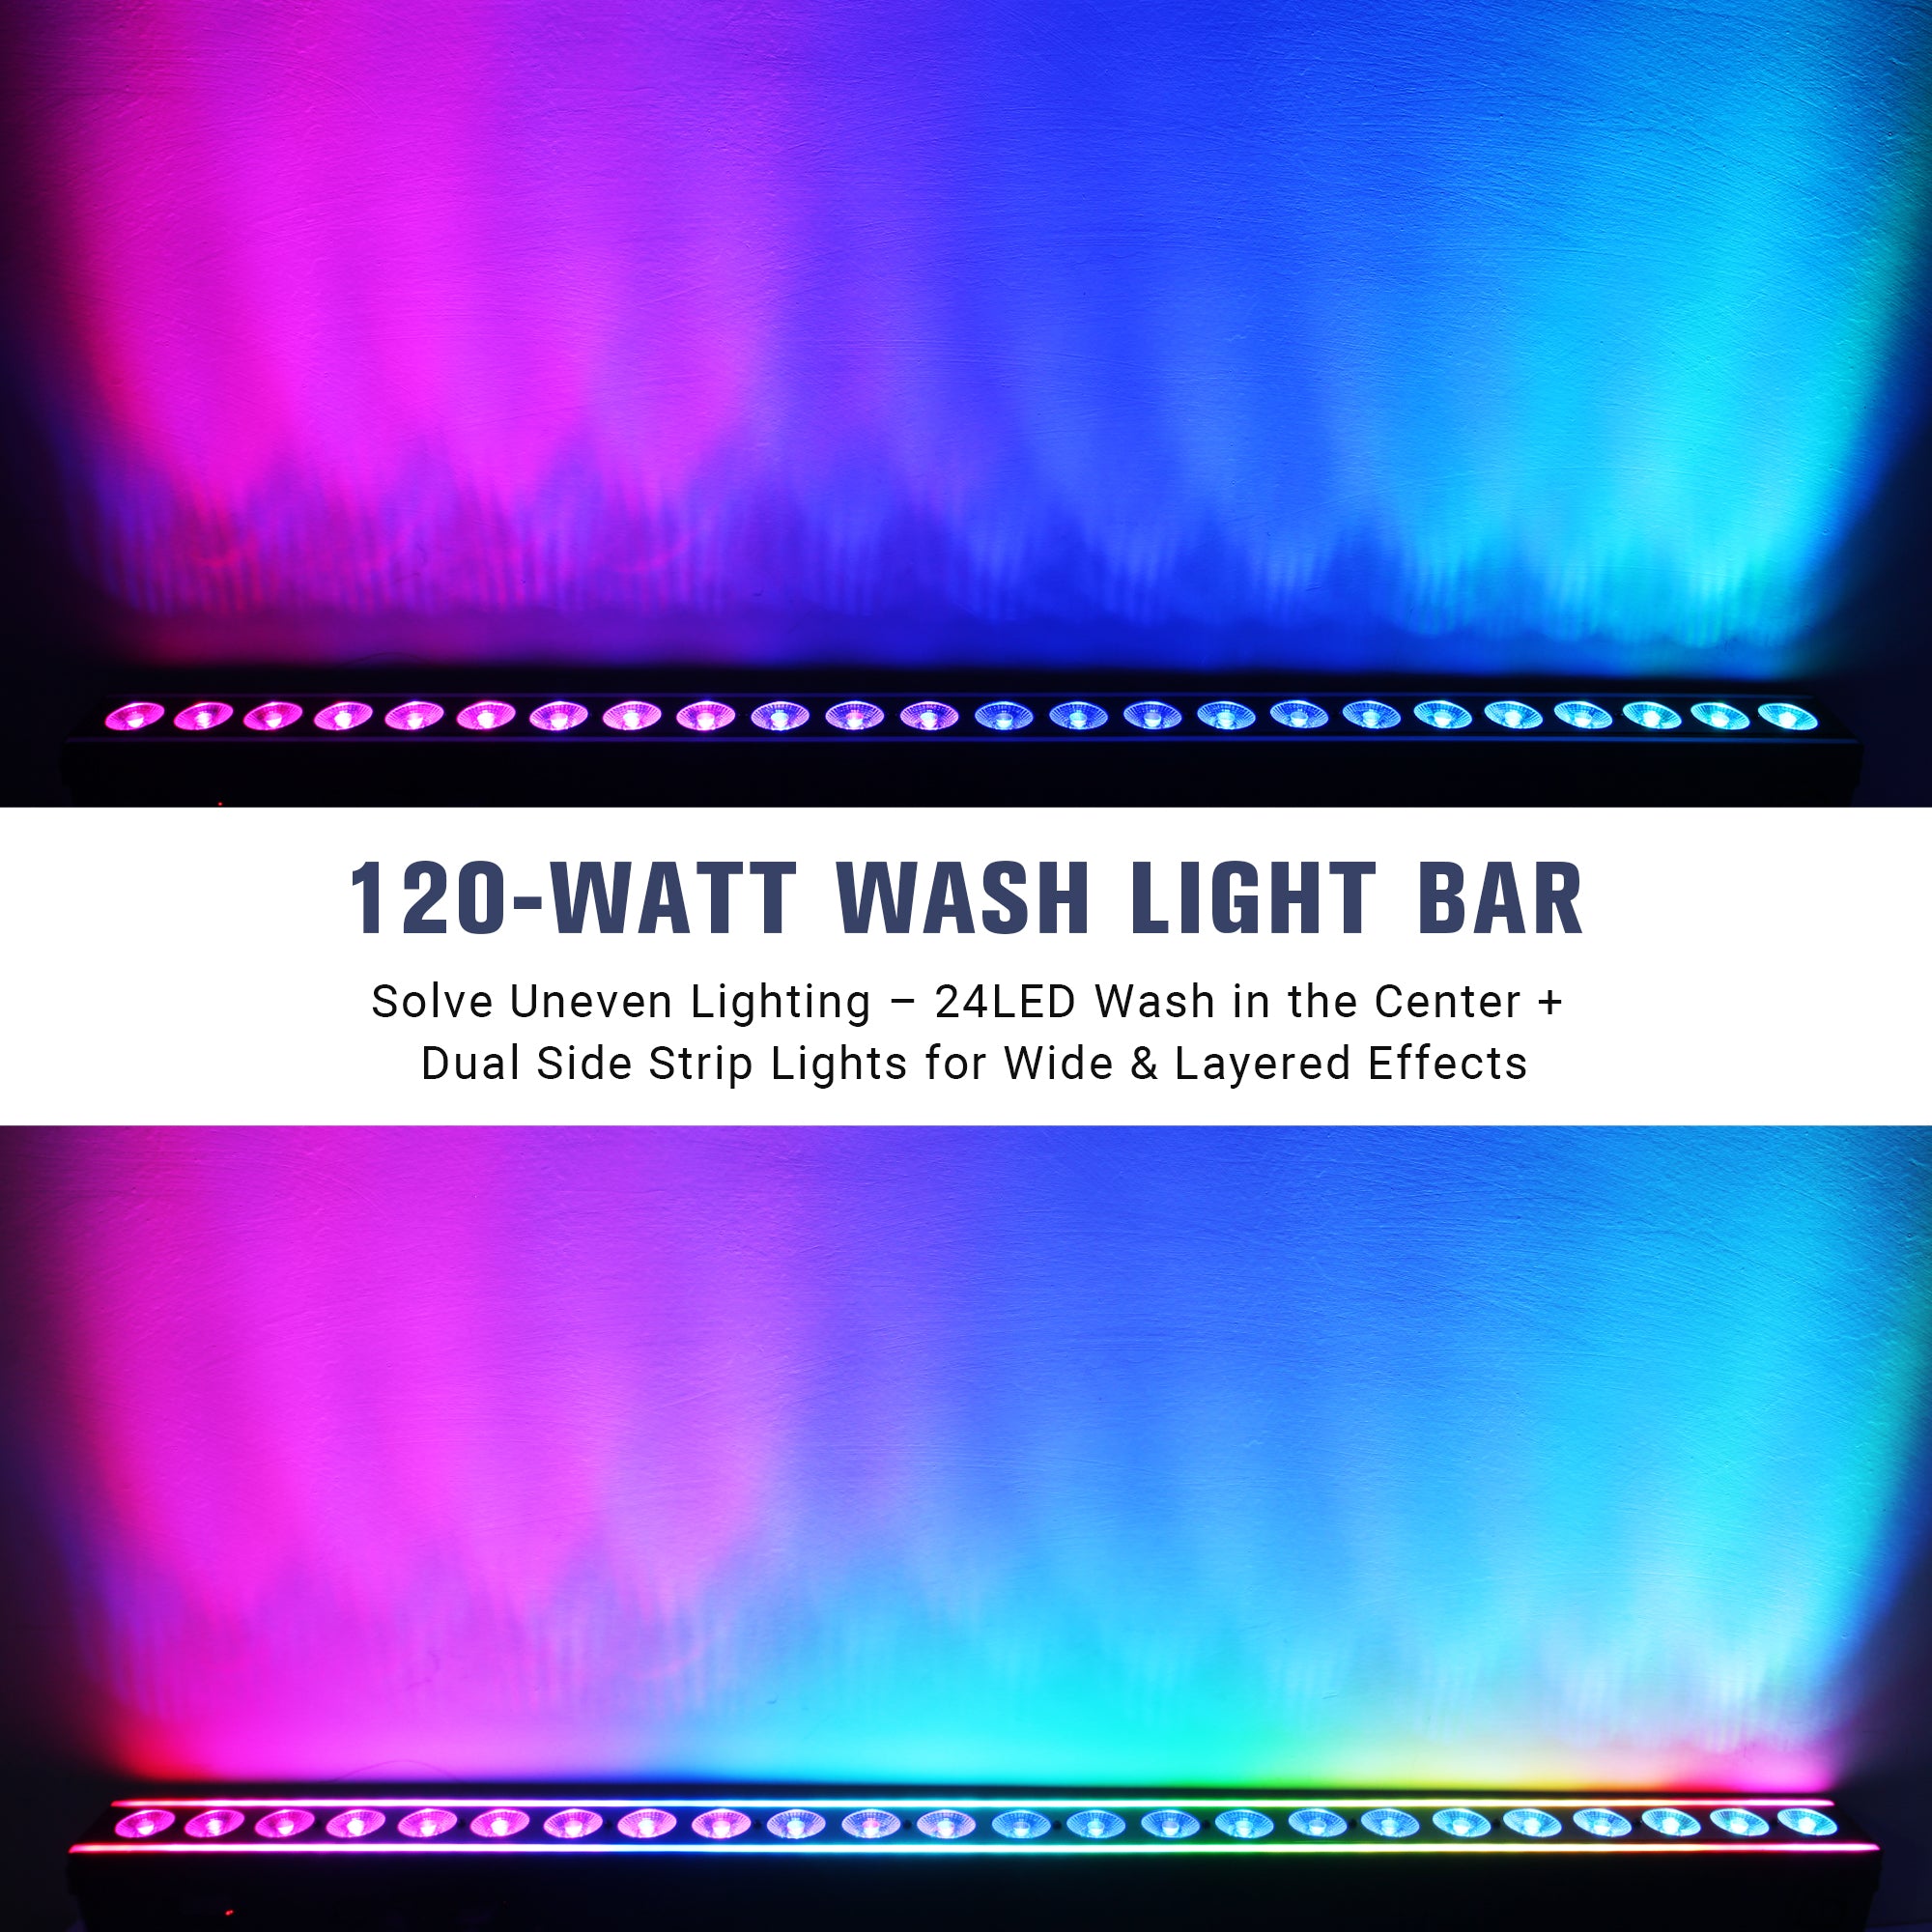
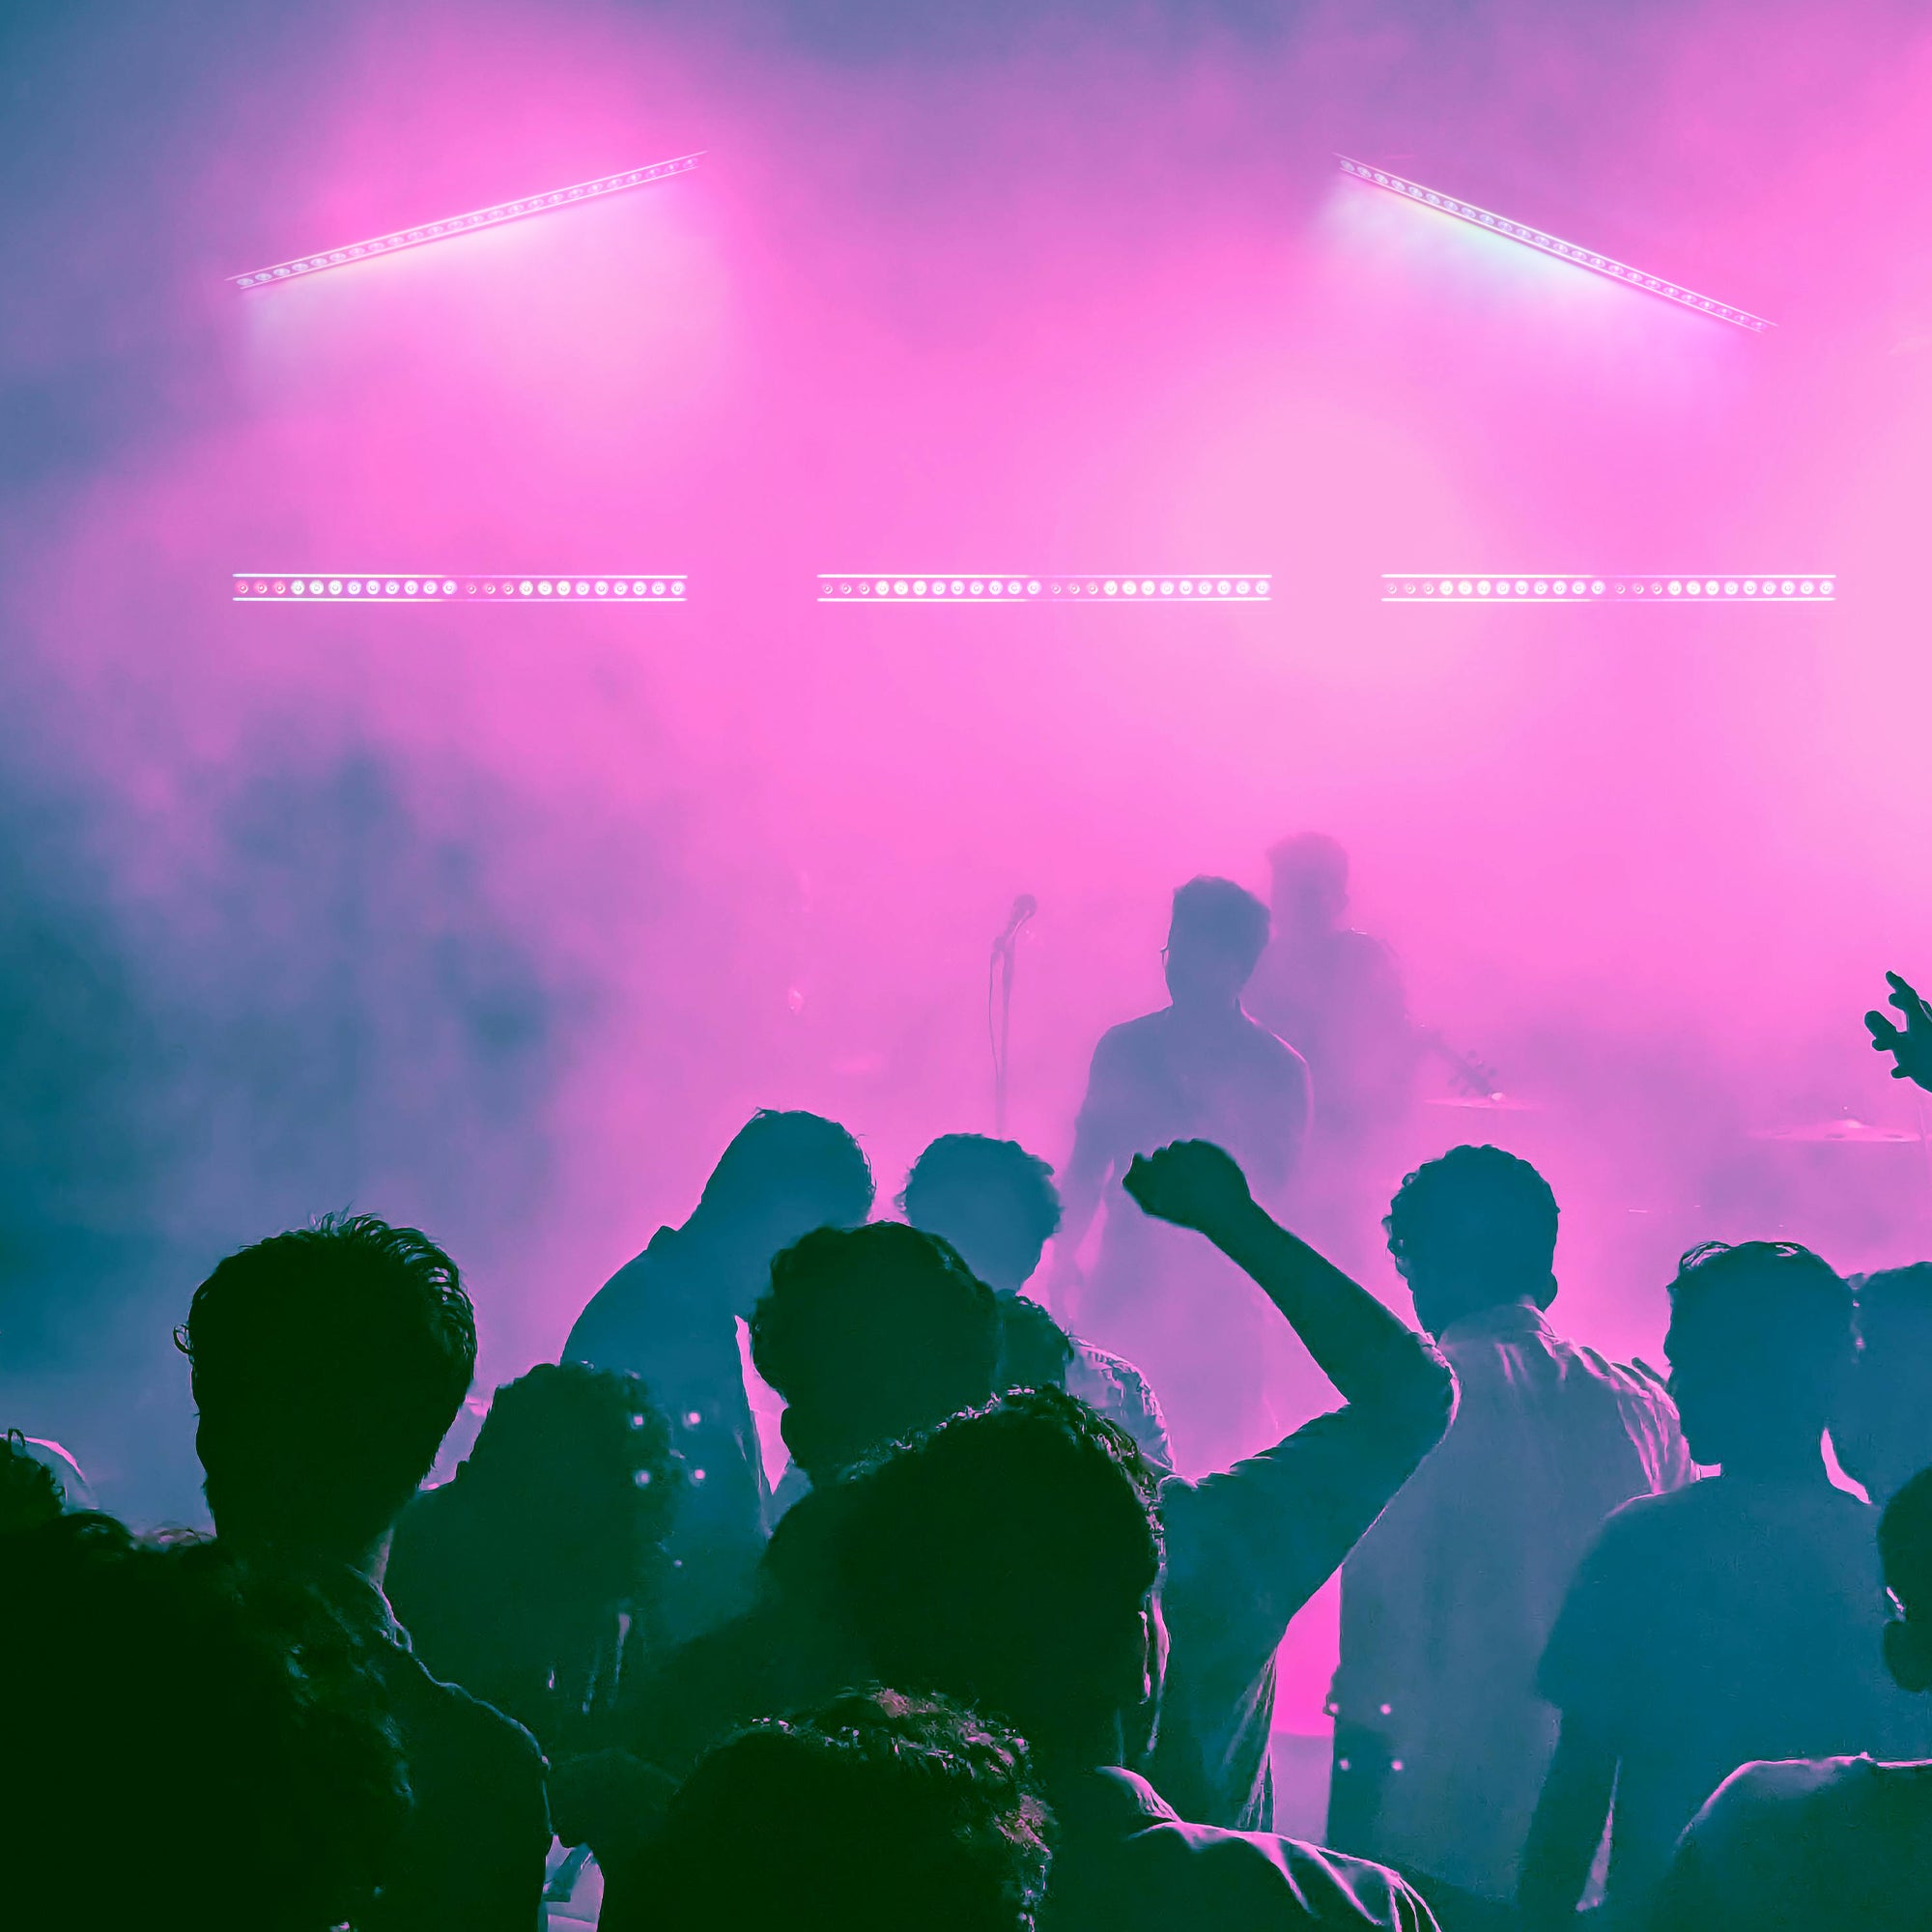
120W RGBW Wash Light Bar
Two light engines in one fixture — the YeeSite 120W Wash Light Bar pairs 24 RGBW LEDs with dual RGB side strips for layered wall washing and ambient glow. 105 built-in programs, 4 DMX modes up to 92 channels, and sound-activated sync give you studio-level control in a sleek aluminum bar.
Highlights
Dual Light Engine
Rich Static Colors
6 Operating Modes
Sound Active Mode
Weight
Dimensions

Pairs well with
Free Shipping from U.S. Stock
30-Day Money Back Guarantee
CE & RoHS Compliant
24-Month Warranty
120W RGBW Wash Light Bar
If you have any questions, you are always welcome to contact us. We'll get back to you as soon as possible, within 24 hours on weekdays.
- Email: support@yeesiteelec.com
- Phone: (626) 474-4275
- Live chat: click on the chat bubble on the bottom left.
-
Shipping Information
All our items are shipped from the U.S. stock, arriving at your doorstep in up to 8 days at no extra cost. You can always opt in for Priority Shipping ($19.99) or Express Shipping ($49.99) to shorten the transit time and get your orders delivered in as fast as 1 business day.
For more details, check our shipping policy.
-
Compliance Notice
Our products are designed to meet applicable CE and RoHS requirements. Specifications and features may vary by model and are subject to change. Professional installation and proper usage are required.
-
Warranty Info
Yeesite products are covered by a 24-month limited warranty from the date of purchase against manufacturing defects under normal use. This warranty covers defects in materials or workmanship, but does not apply to damage caused by improper installation, misuse, unauthorized modification, normal wear and tear, or operation outside of recommended specifications. Warranty service may include repair or replacement at Yeesite’s discretion, and proof of purchase is required.
-
Refunds & Returns
Eligible items may be returned within 30 days of delivery. Once approved, Yeesite covers all return shipping costs and no restocking fee applies. Refunds are issued after inspection.
For more details, check our refund policy.
Dive Deeper
Tech Specs
Installation, Cleaning & Maintenance
Compliance & Certification
The 120W RGBW Wash Light Bar is designed to comply with applicable CE and RoHS requirements.
In The Box

The Light

Installation Kit

Bracket

Power Cable

User Guide


Free shipping and returns
FAQs
Please read our FAQs page to find out more.